If you have rosacea or experience patches of redness, you’ll be familiar with the struggles of achieving an even base for your makeup. Applying layers of concealer on top of layers of foundation will likely do the trick, but it’s not a great solution if you want a natural-looking finish or prefer a lightweight feel.
Luckily, there’s an alternative in the form of green colour correctors. While putting bright green makeup may initially seem slightly alarming, it all makes sense when you consider colour theory: green and red are opposite each other on the colour wheel, which means they cancel each other out.
Here’s everything you need to know about green colour correctors, including how to apply it to get the best results and neutralise all traces of redness.
How to Apply a Green Colour Corrector
There’s no doubt that green colour correctors can provide impressive redness-reducing benefits, but correct application is crucial for achieving a natural and flawless look. Here are some tips on how to get the most out of your green colour corrector:
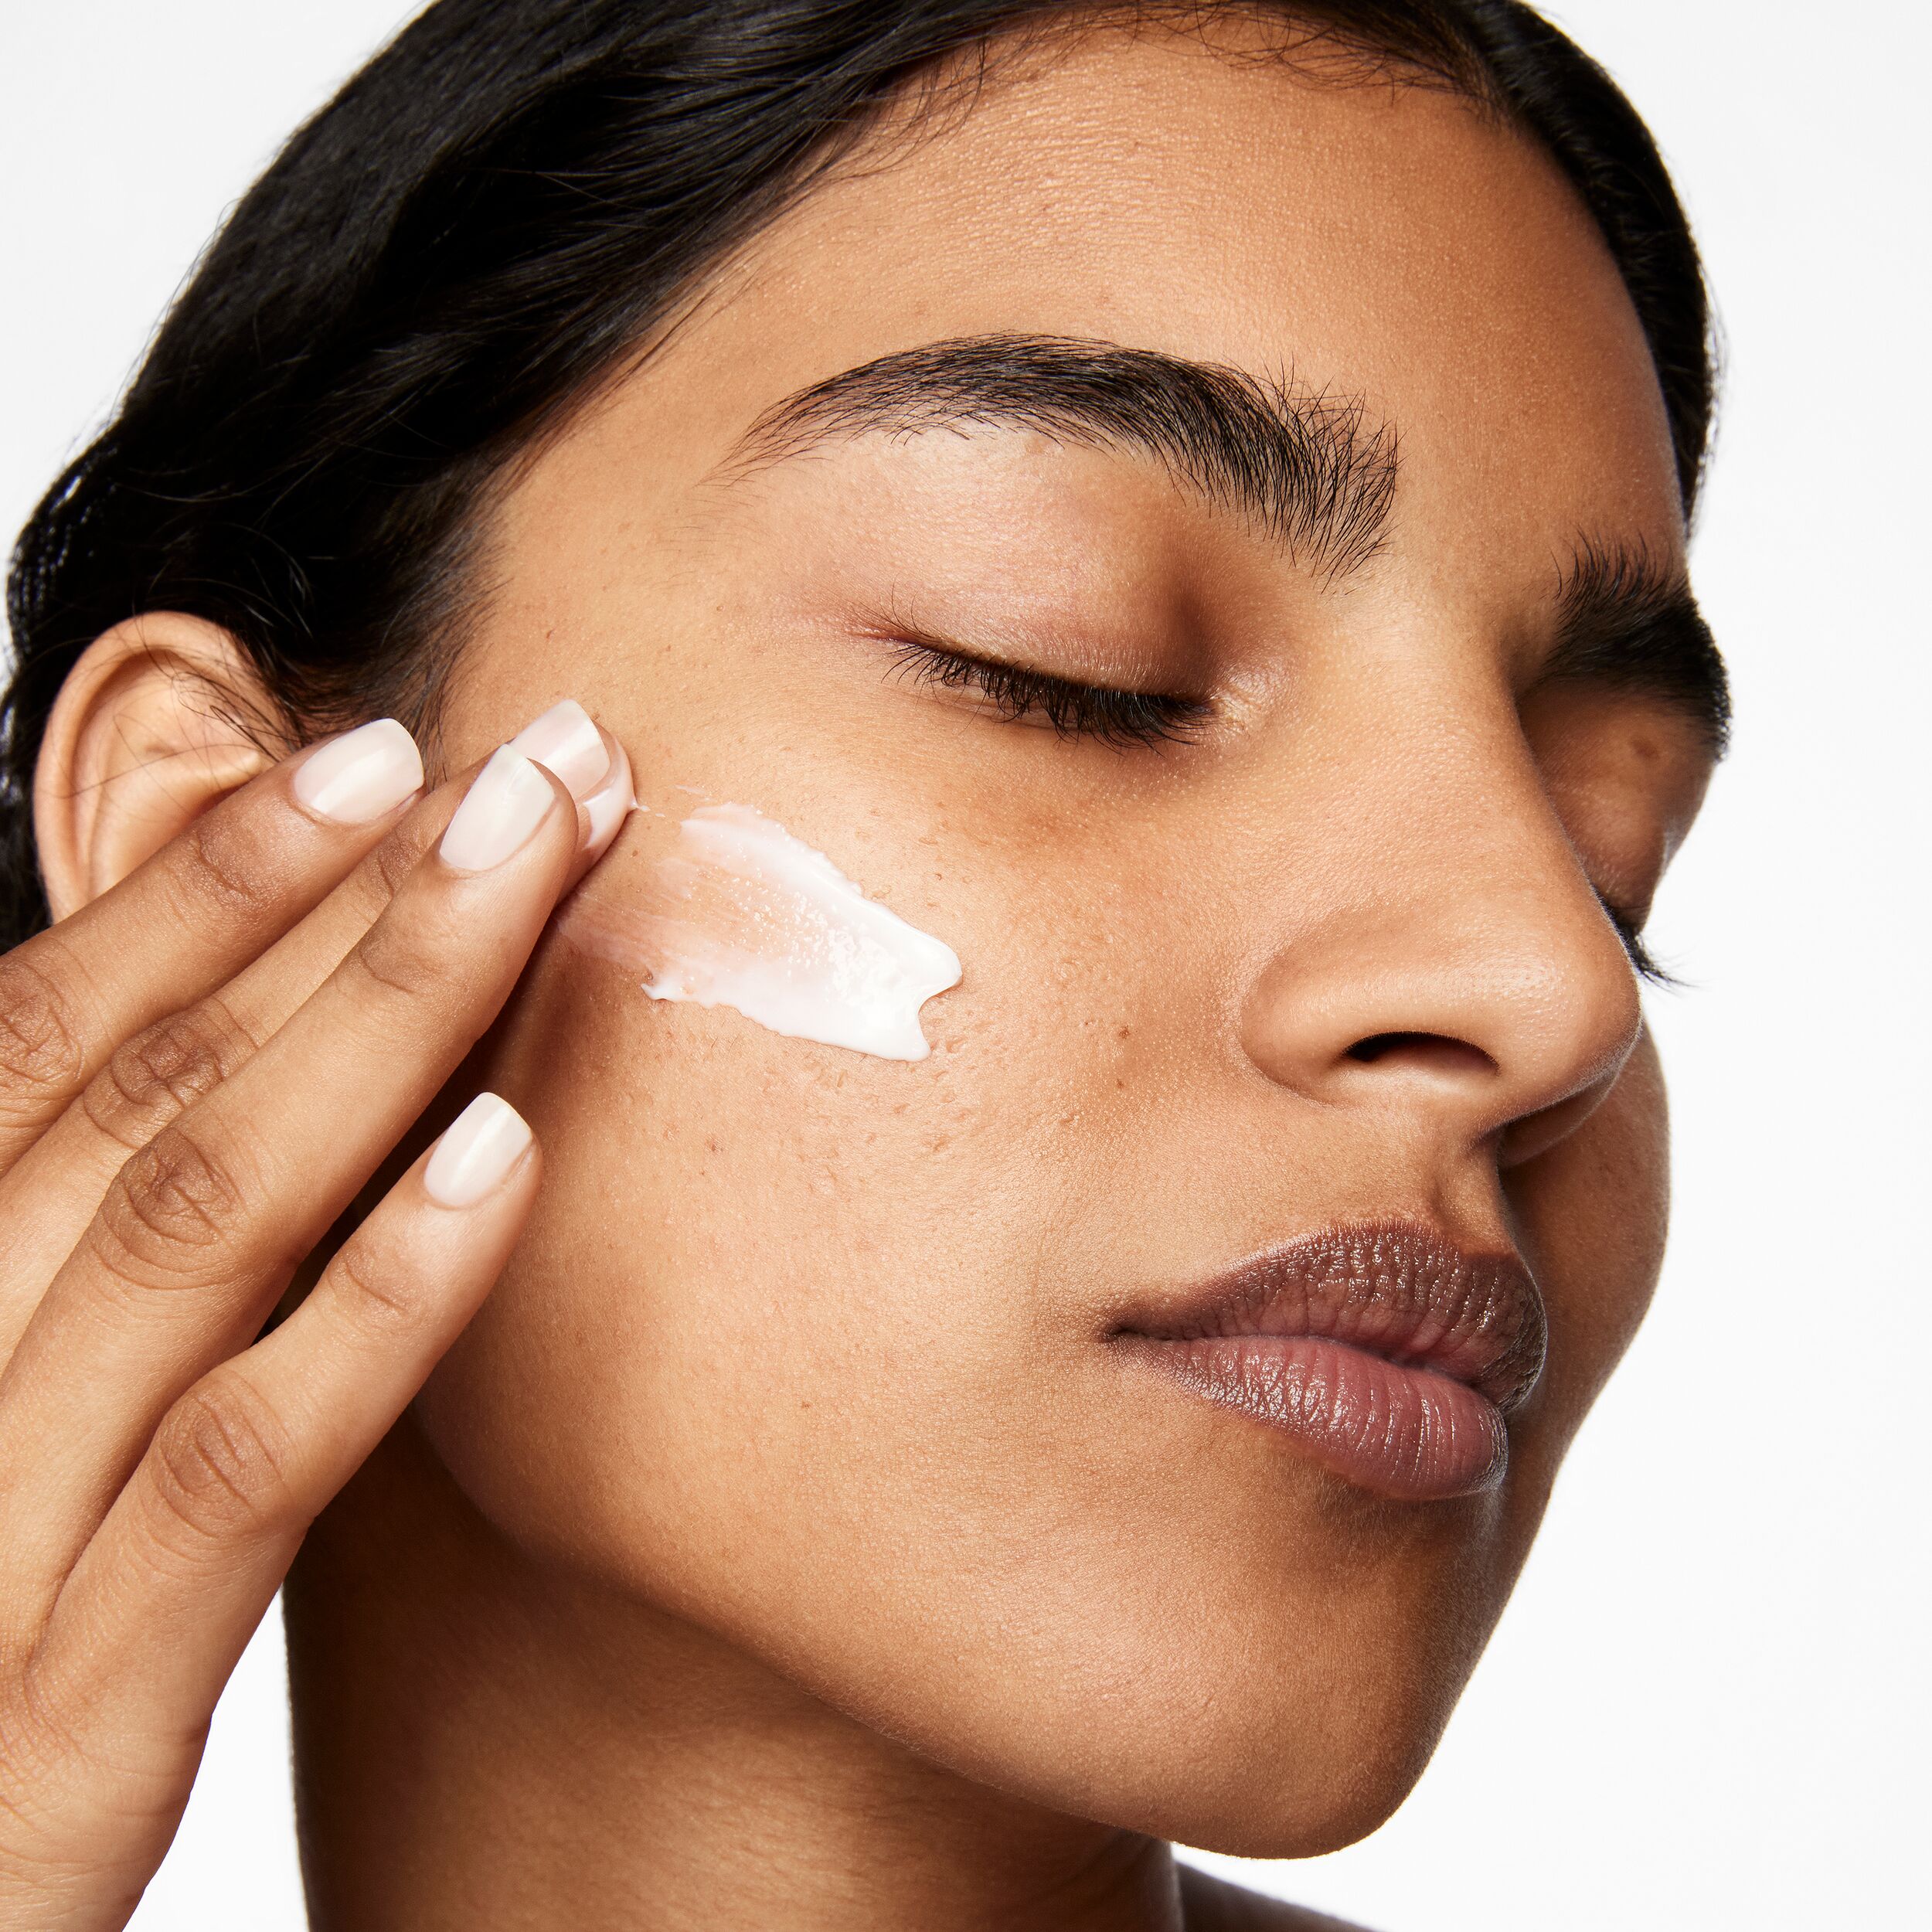
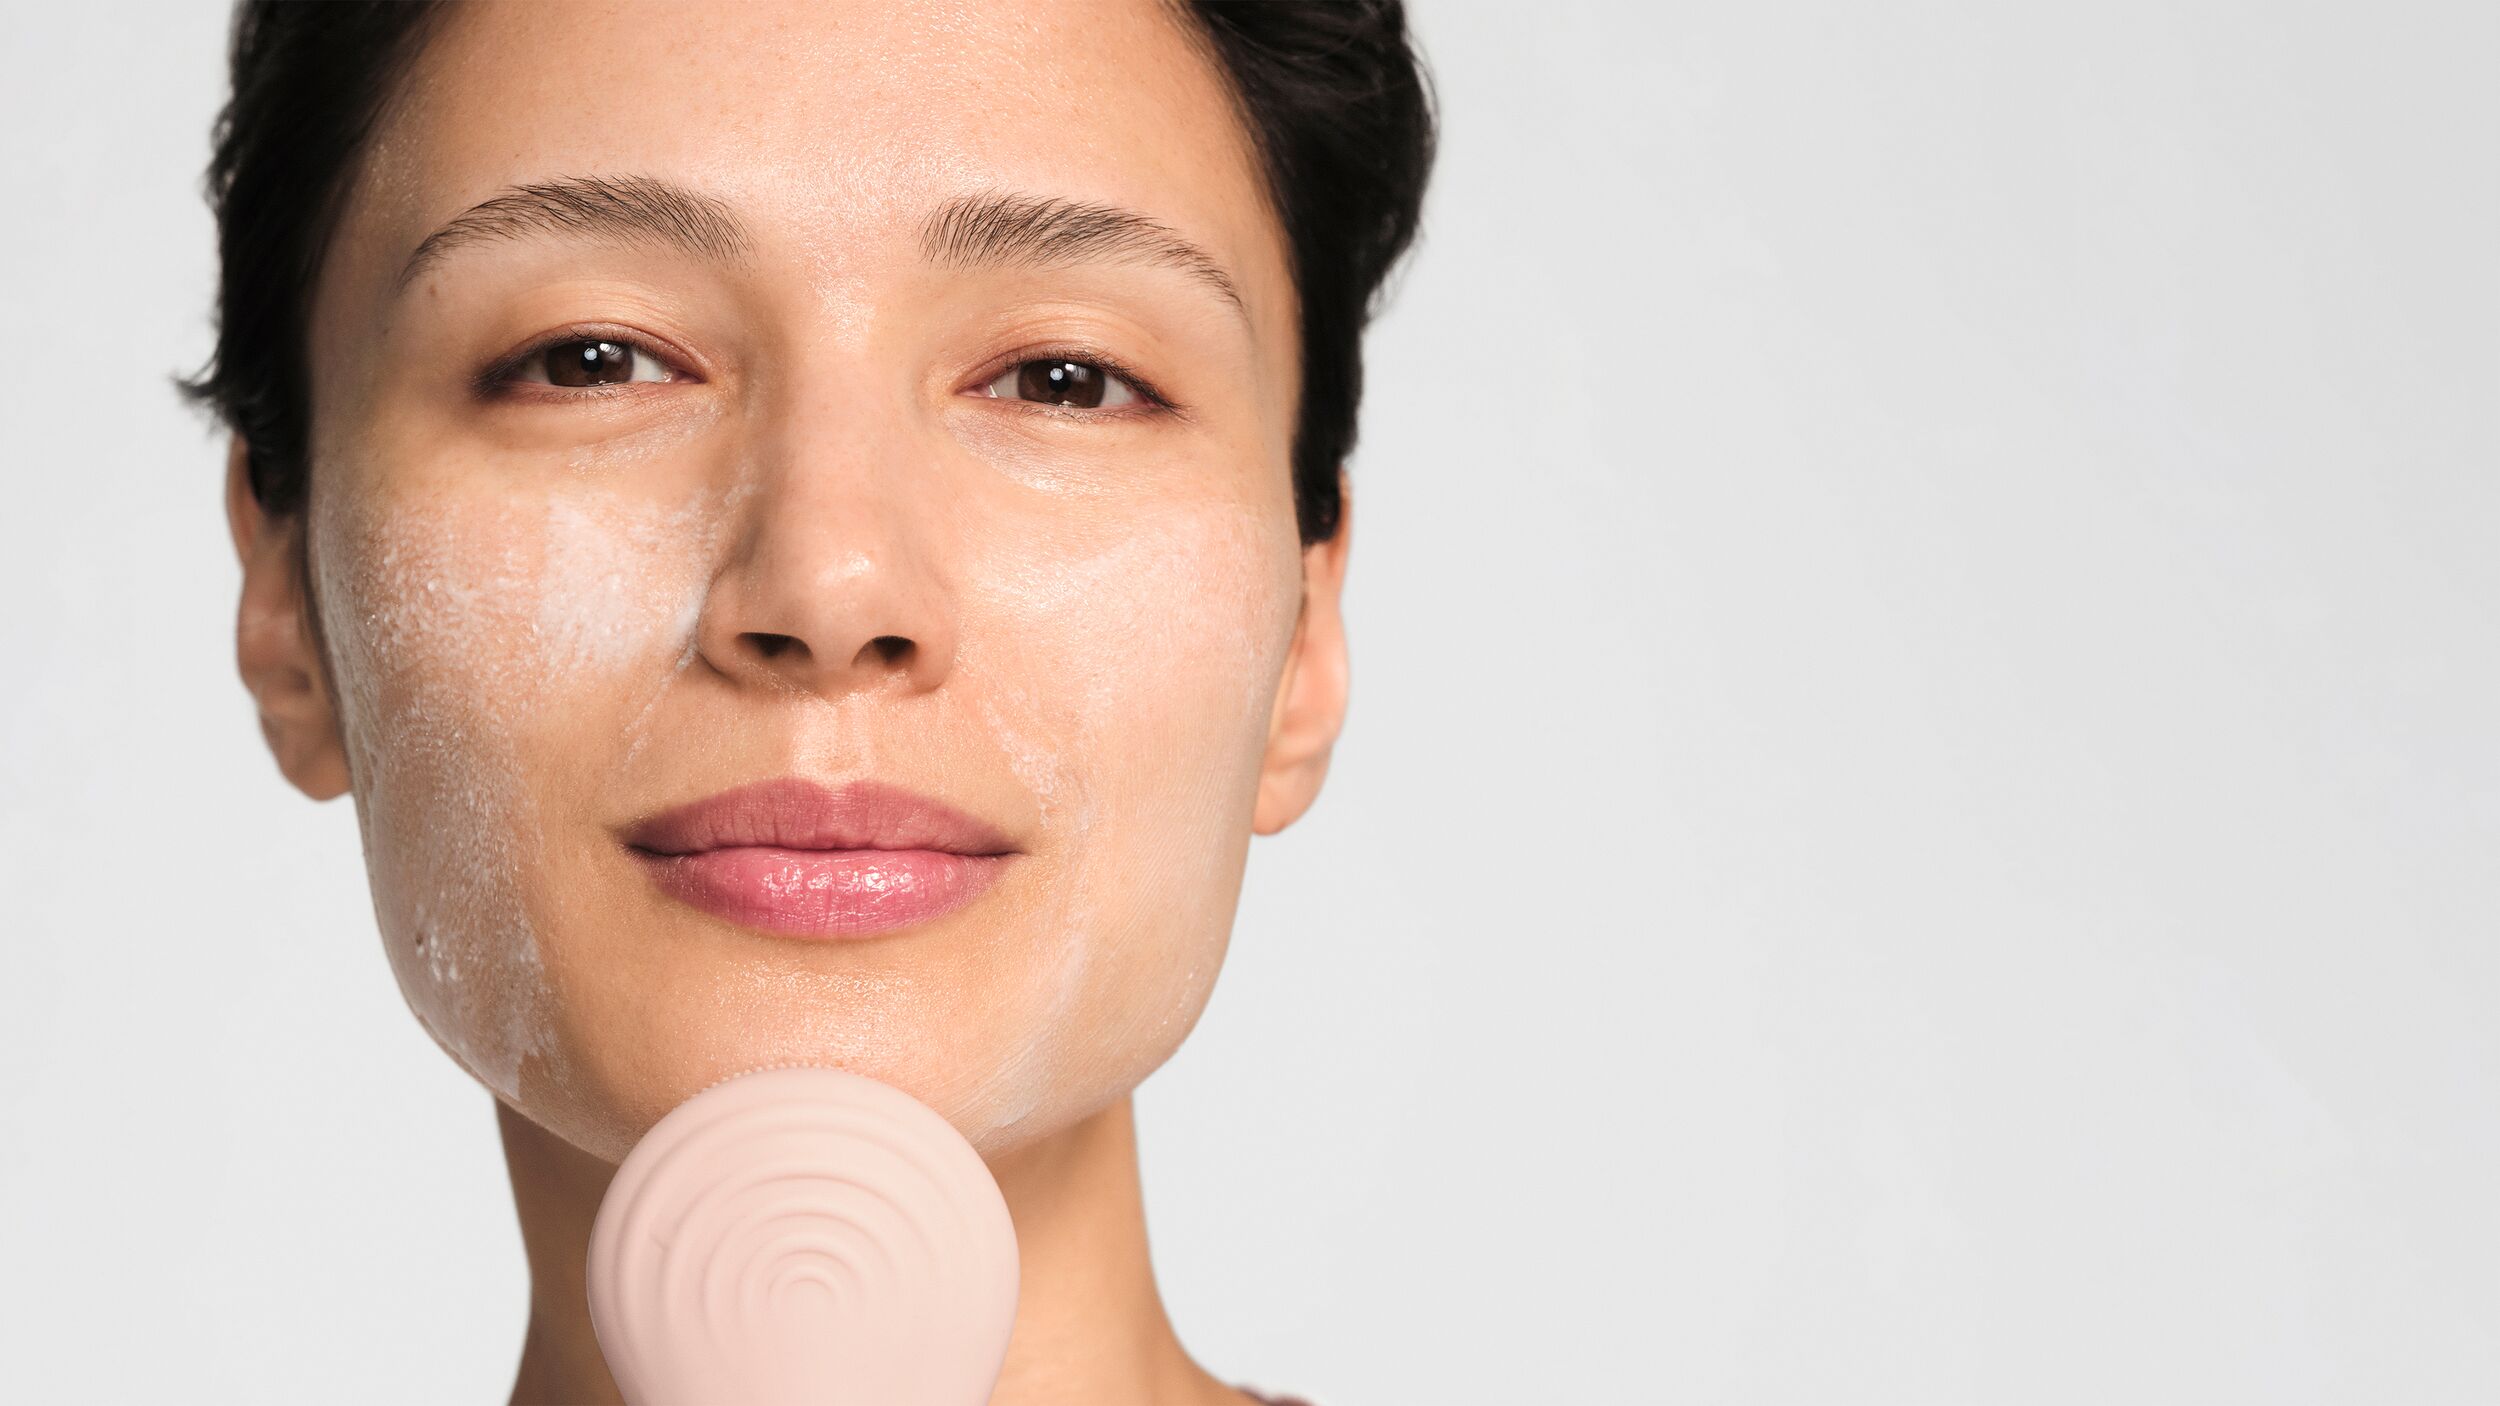
1. Start with a Clean, Moisturised Face
Always begin with a clean slate. Use a gentle cleanser and follow up with a moisturiser suitable for your skin type. Hydrated skin ensures better product application and longevity.
2. Prime Your Skin
Apply a primer after moisturising. Primers help to smooth the skin's surface, minimise pores, and provide a grip for subsequent makeup products. This step is particularly important if you have oily or combination skin.
3. Apply the Green Color Corrector
Use a small amount of green colour corrector like our Superluminous Redness Corrector on the areas where you have redness. This could be around the nose, on the cheeks, or any blemishes. A little goes a long way, so start with a small amount and build up if necessary.
4. Blend, Blend, Blend
Use a makeup sponge, brush, or your fingers to blend the corrector into your skin. Be gentle and use a dabbing motion rather than rubbing, which can irritate the skin and exacerbate redness.
5. Layer Foundation or Concealer
Once the corrector is well-blended, apply your foundation or concealer with a sponge or brush, using gentle dabbing motions.
6. Set with Powder
To ensure your makeup stays in place, set your foundation and concealer with a translucent setting powder. This will help lock everything in place and control shine throughout the day.
Don’t Forget About Skincare
While makeup and green colour correctors in particular can neutralise and disguise redness, the best way to manage it long term and reduce symptoms is with targeted skincare consisting of expertly formulated products full of hard-working, proven ingredients like Azelaic Acid and Niacinamide as well as barrier-strengthening ingredients like ceramides.
Read our guide for the best Beauty Pie products to reduce redness.
Related Content